Special Notice for European Union (EU) viewers. Due to the GDPR, you are NOT AUTHORIZED to access this website for any purpose whatsoever. Continued use is a violation of US LAW.
See the disclaimer for more information.
|
Repairing a LED Palm Tree RV Ornament.
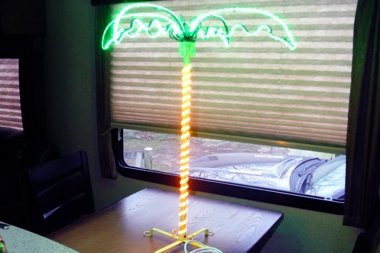
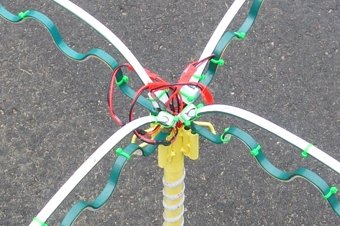
The wiring job is fairly simple, and I did add connectors at the fronds so I could disassemble the tree. One of the things I hated about the tree was that once assembled, it was difficult to find a place to store it without breaking it. With removeable fronds, the whole thing can collapse and be put into a bag for storage.
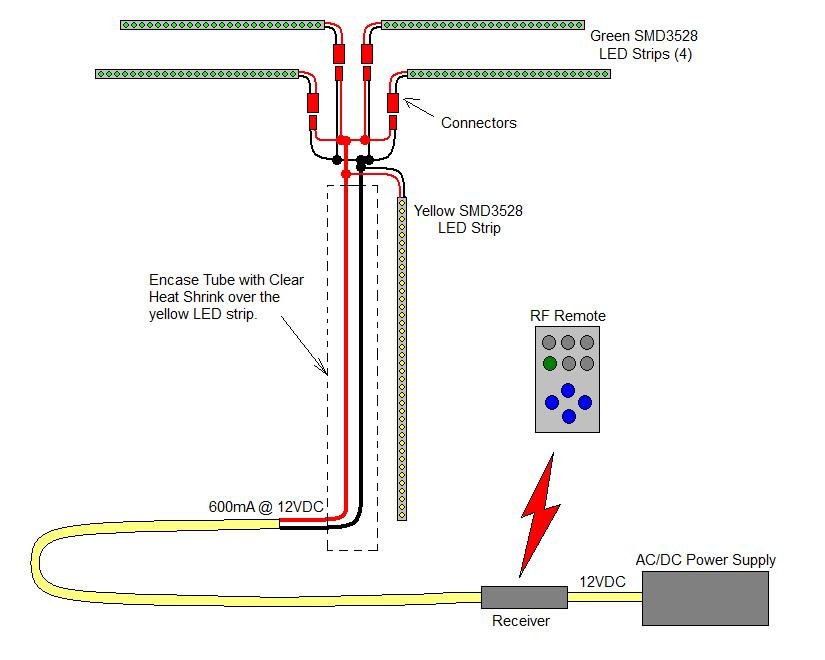
I did have some difficulty in getting a good connection with the LED strips for the fronds. I first tried to use pig-tail connections but found that they would break after a few connections and disconnections. I then tried the IDC (Insulation Displacement Connector) vampire-tap type connectors, but found reliability issues with those as well. I ended up modifying the IDC connectors by soldering directly to the pins.
Connector Video.
The connectors for the fronds are not 100% waterproof, but since the connector's female part encapsulates the inner male part, pointing the connector down will shed water. And I will add a bit of Liquid Tape to the connector ends so that they will be realitively waterproof. And since we are working with 12VDC, there is little shock hazard. The connectors admittantly look a bit haphazard, but remember - no one is going to see the connectors in the daylight, so the advantage of being able to dissassemble and store the palm tree in a bag far outweighs any asthetic issues of the connectors.
Since I decided to change the LED strips to 12VDC power, I am able to use a remote control.
Repair Video.
A few tips:
|