|
|
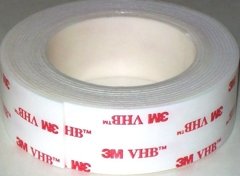
There are several mounting options available to mount a LED strip to your RV. Foremost (especially if you are mounting the strip to the outside), is a secure method of mounting the strip. You can simply use a good double-sided tape, such as 3M VHB (Very High Bond) or a purpose-made channel to do so.
Many, if not most LED strips do have double-sided tape, but often they are not up to the task, especially since the natural spooling of the LED strip often compromises the tape so that it can get dirt and other particulate matter into the "sticky part" during storage.
If the LED strip is installed outside, say under the awning, I would only trust LED strips that use VHB tape. Most LED strips use inferior tapes, but there are a few that do advertise using VHB. I would be skeptical about those tapes... unless the tape has the 3M VHB logo on it, I would not consider the tape VHB. They may claim they use VHB, but do they actually use it?
If you use VHB to attach the strips, I recommend 3M's 4298 Adhesion Promoter to clean the surface you wish to attach the strip to.
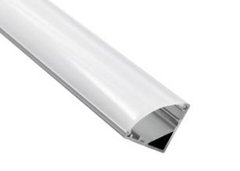
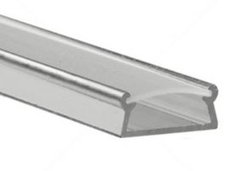
For a more robust mounting solution, consider one of the many purpose-made aluminum or plastic channels that are made for LED strips. These can be had either in an angle or flat orientation. For mounting under an awning, an angle channel would work quite well. These strips can be attached to the RV with VHB tape, screws drilled through the skin of the RV, or adhesives such as 3M 4200/5200. They are not waterproof, however, they do not need to be as long as you are using waterproof LED strips (IP64 or better). The primary function of the channel is for attachment integrity, not waterproofness. The strips can usually be purchased in 1M lengths, so you would buy as many as needed.
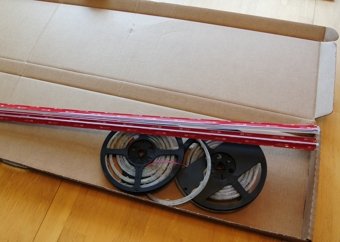
If you simply need a monochrome LED strip, you can buy a "kit" consisting of a LED strip light (in various lengths) along with plastic strips that are attached to the underside of your awning with pre-attached VHB tape. The LED strip does not have any control or power components, but you can simply wire the LED strip to your 12V coach battery via a switch. This is an easy solution with all of the components you need to do the project. These kits are available in different colors (white or blue) as well as various lengths (16ft, 12ft, 6ft).
Monochrome "kits" (LED light strip plus channel) Finally, a method may be necessary to provide a feed-through for the wiring under the awning. This can simply be a hole drilled into the side of the RV, or a more elaborate solution such as a cable-clam. Consideration should be taken before using one of these feed-throughs to ensure there is adequate clearance under the awning. If you are using one of the various channels, you may simply wish to drill through the channel itself for the cable run, then seal the hole with a good sealant.
|